
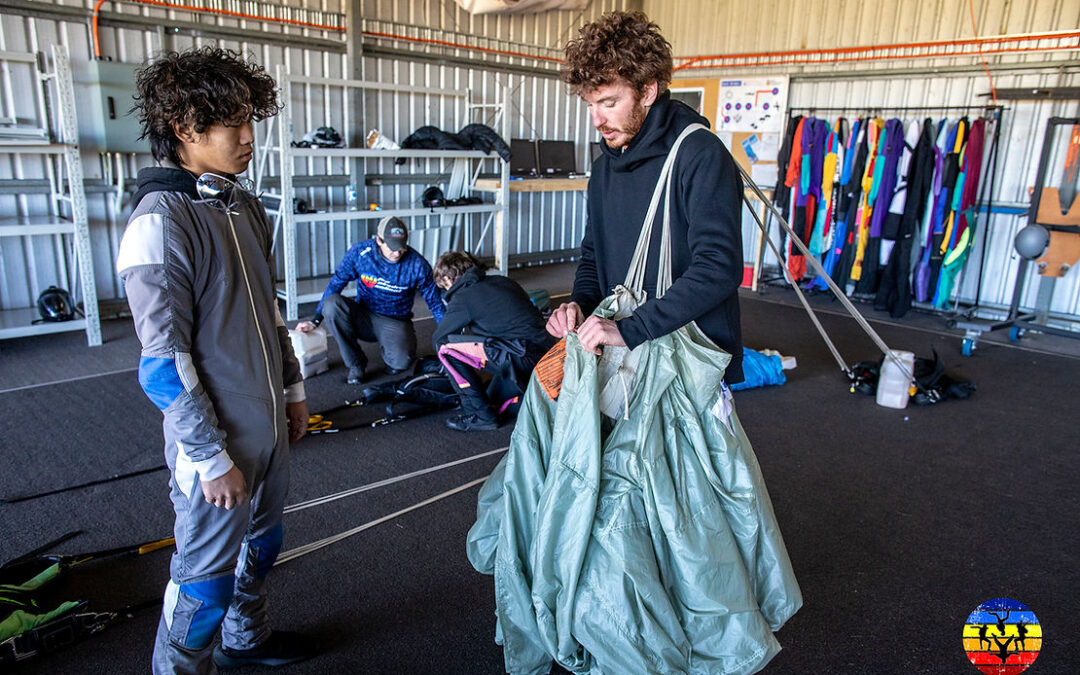
Your Skydive A‑License Journey Starts Here!
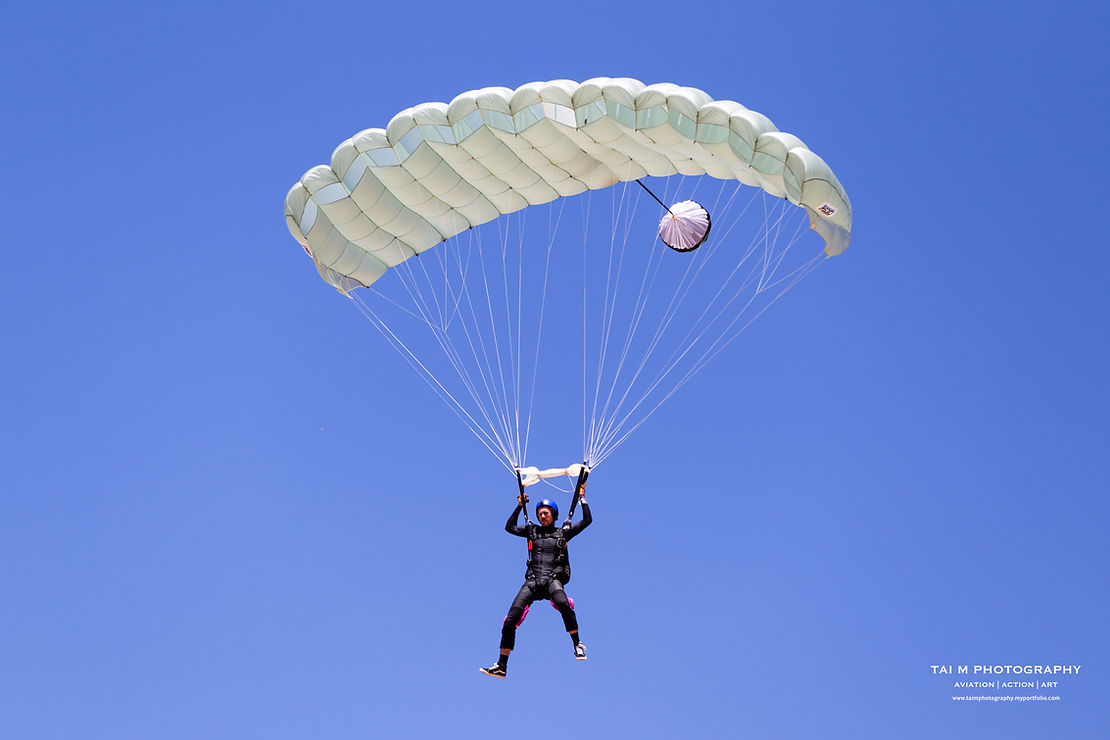
Do you need to pack your parachute for your Skydive A Licence?
These days, packing isn’t required for your A Licence: it’s been pushed back to the B. Why? Who knows for sure… but if you ask around, many will tell you it’s down to commercialisation. Teaching someone to pack takes time. And in a fast-paced, profit-driven environment, some DZs just don’t want to invest that time.
But here at The Skydive School, we’re not about shortcuts. We might be a little old school, but that’s because we care.
We don’t just want to get you through AFF. We want to help you become a skydiver, someone who understands the gear they put on their backs, respects the process, and is confident from the moment they leave the plane to the moment they hang up their rig.
Learning to pack is part of that. Always has been. Always will be (with us, anyway).
Disclaimer: Canopies vary. The following is general information to be used as an overview for parachute packing.
Parachute Packing - Your Step by Step Guide
Packing your parachute isn’t just a formality, it’s a core skill every serious skydiver must master before they can call themselves a skydiver.
While the APF only requires packing training for your B Licence, at The Skydive School, we begin teaching PRO-level packing during your AFF course to build confidence, competence, and ownership over your gear.
Step 1 - Land, Stow & Set Up
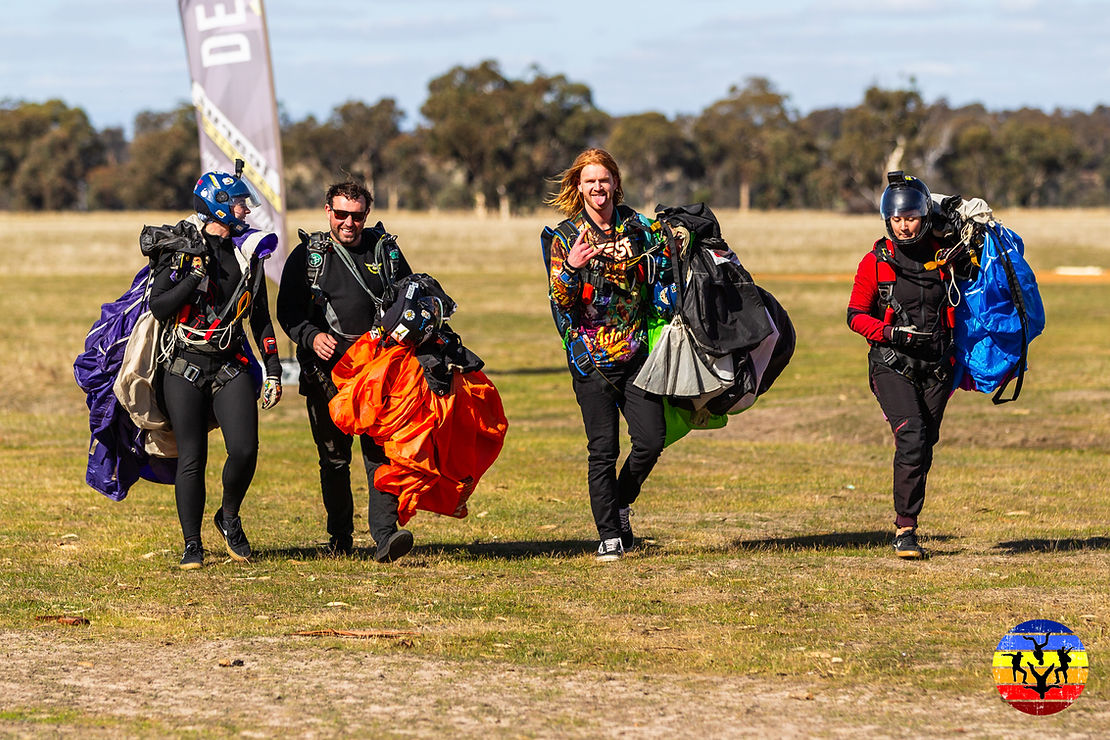
To start off, parachute packing begins in the landing area. Stow your brakes (toggles) as soon as you land – don’t wait until you’re in the hangar. Walk back to the packing mat with your lines neatly coiled or daisy-chained and your canopy slung high over your shoulder. Now you’re starting to look like a skydiver.
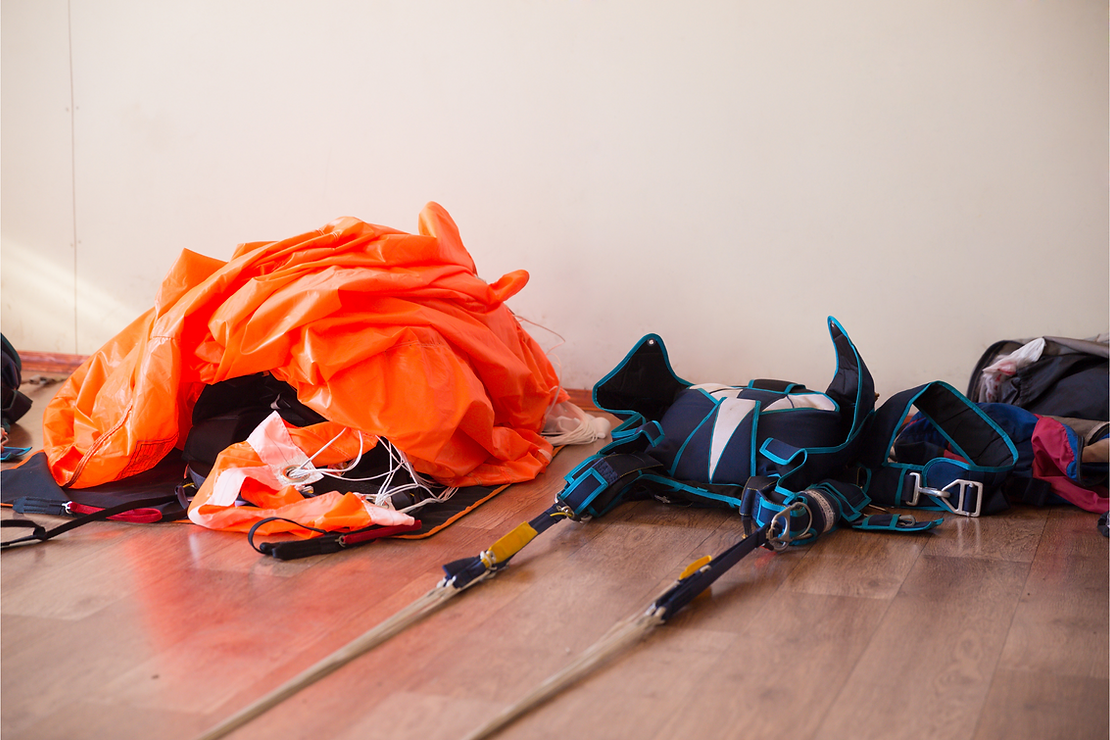
Once you’re back on the mat, lay your container flat on the ground in a belly-to-earth position, with the lines stretched out and the canopy laid out neatly and far from the rig.
Open all flaps, pull the leg straps out from under the rig, and pop a pull-up cord through the closing loop. Add a packing weight to help keep everything steady.
Next, cock your pilot chute (that’s skydiver lingo). If the kill line isn’t cocked, your rig won’t deploy. Place one foot on the deployment bag (D-bag), one hand on the hackie, and gently stretch the bridle.
Untwist your brake lines, and make sure everything is stowed correctly before moving on. Your AFF instructor will help guide you through this stage.
Step 2: Continuity Check & Clearing Break lines
Now that your gear’s laid out, it’s time to make sure everything is straight, untangled, and ready to flake.
Start by doing a line continuity check. Take the brake lines between your thumb and index finger, the rear risers (C + D lines) between your index and middle fingers, and the front risers (A + B lines) between your middle and ring fingers. Walk slowly toward the canopy, running your fingers along the lines and keeping them in place until they’re stretched out neatly and free of twists or tangles.
Still holding the lines in place, give the canopy a good shake side to side (shake, shake, shake) to clear out any congestion.
Without disrupting your work, place the lines over one or both shoulders. Some packers go with both shoulders, others use one, it’s personal preference.
Next, locate the nose of the canopy (that’s the front) and count the cells. Most canopies have nine cells some have seven. Once counted, grab the nose and place it between your knees, keeping your knees together to hold it in place.
With the nose secure, push the slider up toward one shoulder or around your next to keep it out of the way. This clears the canopy for the next step: flaking.
Step 3: Flaking, Quartering the Slider & Cocooning the Canopy
Now it’s time to flake the canopy. This means working through the line groups and gently separating the fabric between them. You’re aiming for a smooth, tidy “ribbon” pattern, but it doesn’t have to be perfect. The important thing is that it’s even, consistent, and free from bunching.
Once flaking is complete on both sides, bring the slider back to the centre and quarter it: one part to the front, one to the back, and one to each side. This keeps it stable and properly positioned for deployment.
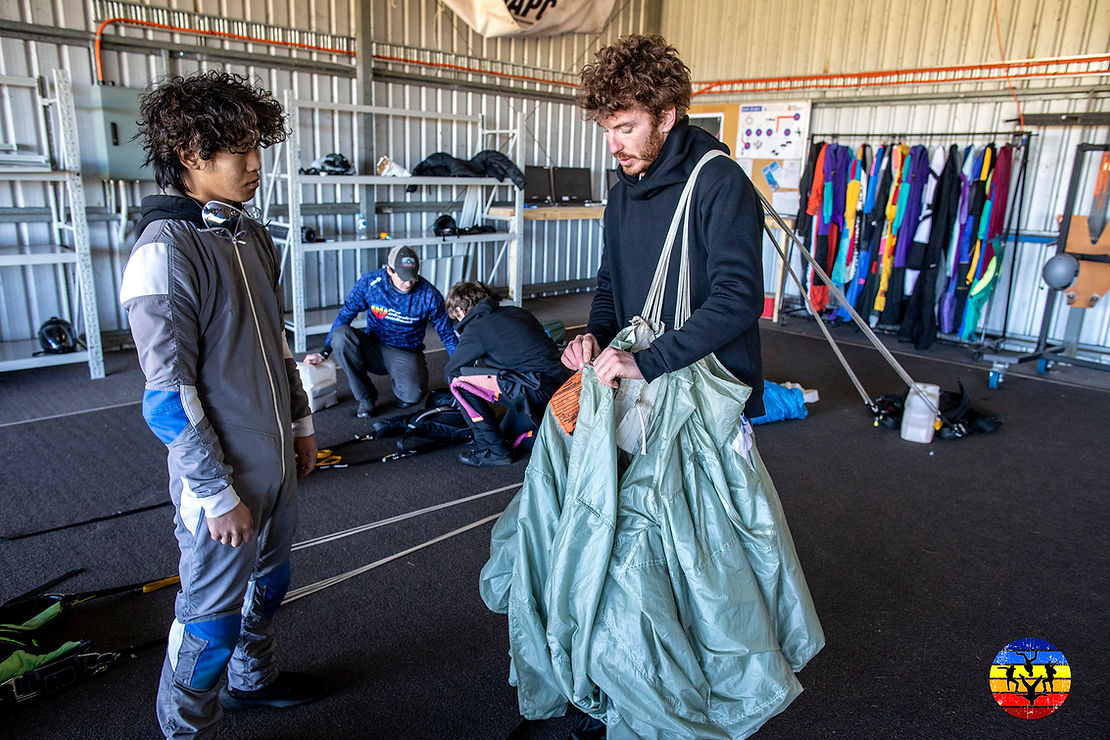
Now for the cocoon. Using your knees to hold the nose in place, start wrapping the excess fabric gently around the flaked canopy.
Step 4 - Prep for Laydown & Bagging
With your canopy flaked and cocooned, it’s time to get everything set up for bagging.
Lay the canopy down gently on the ground with the lines stretched out straight. Try to position the pilot chute off to the side for now.
Even though you cocked the pilot chute earlier, this is a great time to double-check it’s still cocked. In fact, every time you touch the pilot chute, you should check it. Remember as pointed out in step 1, “If the kill line isn’t cocked, your rig won’t deploy” – so it’s a habit worth building.
Now, with everything in position, it’s time to remove excess air from the canopy. Using your forearms or gently lay across the canopy to squeeze the air out and keep the fabric flat. This will make the next step easier and keep your pack job clean.
Next, shape the canopy for bagging. Place your knees near the warning label and begin tucking the edges in toward the centre, shaping the bundle to be no wider than your D-bag.
Finally, it’s time to wrap the canopy; gently rolling the fabric inward from both sides to protect all the neat flaking you’ve just done. This cocoon wrap should be snug but not forced. Keep everything even, tidy, and under control.
You’re nearly there. It’s time to bag it up!
Step 5: Bag It, Stow It & Close It Up
You’re almost done! Now it’s time to bag your canopy, stow the lines, and close the container.
Tuck and wrap:
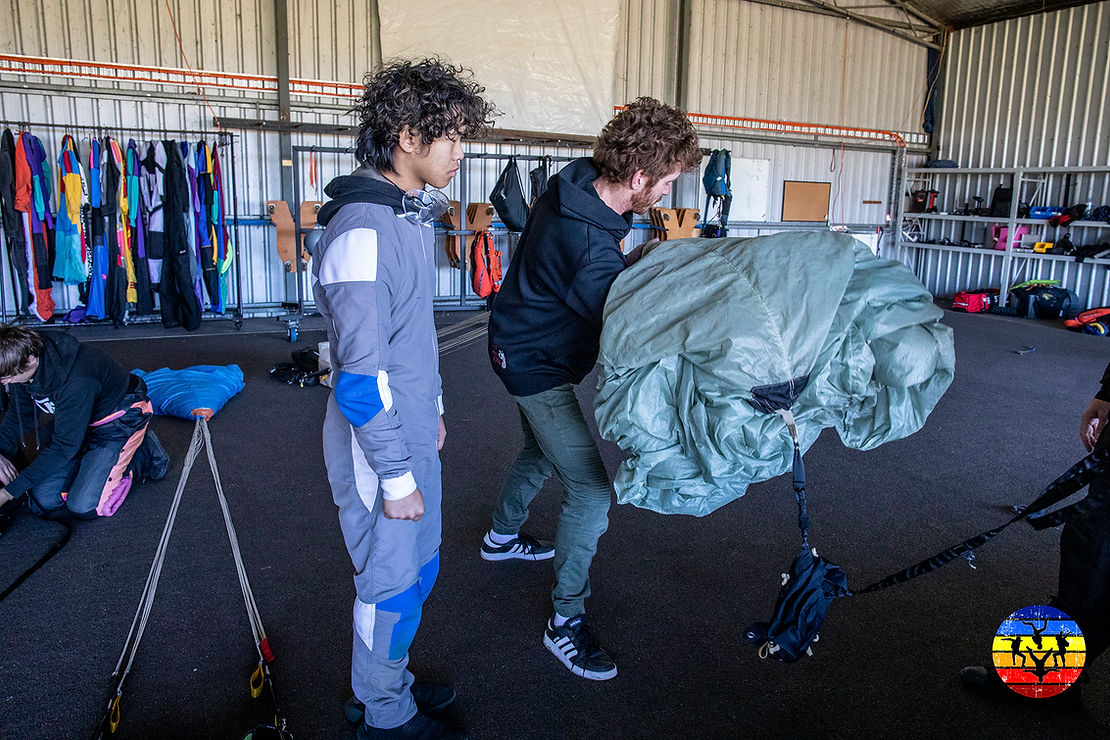
With the air out, your canopy should be flat and sausage-shaped. Tuck any excess fabric neatly underneath, wrapping the top around the bundle without disturbing the lines.
S-fold:
Hold the canopy from underneath, make a chop halfway down, fold the top section toward you, then fold it again to create an “S” shape.
Bag the canopy:
Slide the D-bag under the canopy and roll the fabric into it. Remember: bring the bag over the canopy, don’t stuff the canopy into the bag.
Stow the lines:
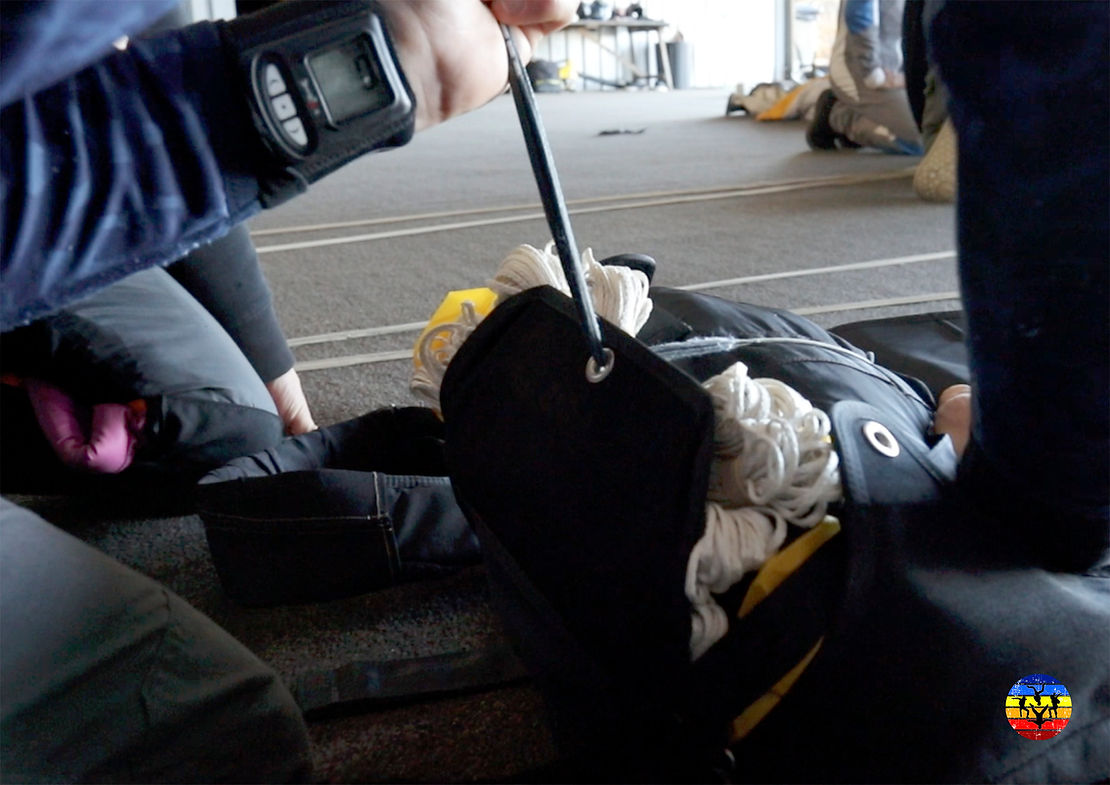
Stow the lines in a back-and-forth pattern. Start in the middle and work outward. Always move toward the container, never pull it toward you.
Place D-bag in container:
With the lines stowed, leaving enough excess lines, lift the D-bag and tuck it into the main tray of the rig.
Stow the risers:
Lay the risers flat with no twists, toggles facing inward. Fold the flap over to secure them.
Close the container:
Packing sequences change, so refer to manfacturers packing guide!
Thread your pull-up cord through the grommets: Bottom, Top, Right, Left (or Left, Right depending on the rig). Use your knees if needed to hold pressure. Wrap the cord under the pin before pulling it out.
Fold and stow the pilot chute:
Fold the pilot chute in a circle, then in half, then in thirds toward the hackie. Fold the bridle back and forth and wrap the canopy over it into a soft taco. Slide it into the BOC.
You’re finished parachute packing, now what?
Your rig is packed and ready for a gear check so you can jump it and pack it all over again!
Check out the following video:
Disclaimer: Canopies and skydive rigs vary. This post is general information. It is to be used as an overview for parachute packing only. Always learn to pack from a professional parachute packer or qualified AFF instructor.